Introduction to Docker
-
Beginners guide to docker
What is Docker?
At its core, Docker is an open-source platform that enables you to package and run applications within isolated environments called containers. These containers encapsulate an application along with its dependencies, libraries, and even the operating system components, providing a consistent and portable environment. Docker simplifies the process of software deployment by allowing developers to create, manage, and distribute these containers seamlessly across different machines and environments. By leveraging containerization technology, Docker enhances scalability, resource efficiency, and ensures consistent application behaviour, revolutionizing the way applications are built, shipped, and run.
If you're familiar with the command line, you're already one step closer to grasping the power of Docker. Imagine being able to package an application along with all its dependencies into a single, self-contained unit that can run reliably on any machine, regardless of its underlying environment. If you're not that familiar with the command line - then watch out during the hackathon as we will be creating posts like this to help you out!
Installing Docker
So you like the sound of this world of containers and want to get in on the action? Great news, as Docker is available to install on to all major operating systems in a few clicks or keystrokes.
I won't reinvent the wheel on this one, the official documentation will guide you through the process:- Mac: https://docs.docker.com/desktop/install/mac-install/
- Windows: https://docs.docker.com/desktop/install/windows-install/
- Linux: https://docs.docker.com/engine/install/
Containers and Images
- A Container is a sandboxed instance of a filesystem and running applications.
- An Image is lightweight immutable file that contains everything needed to launch a container.
Containers and Images make it easy to create and share consistent and reproducible portable application environments. So you can be confident that an application running on your laptop will run on someone else's, or in the cloud.
There are plenty of docker images out there in the wild. The biggest collection and default repository is Docker Hub. So if you want to host a website, or find an Image for that hot new application stack then begin your search there. https://hub.docker.com/
More and more Images can now be found in the GitHub repositories, because of a feature of GitHub that makes building and packaging Images easier, but we will touch on that later in this series.
Your first Docker Container
It is always hard to to pick a first container to show someone, there is the classic "hello-world" Image, but it always feels a bit 'meh' to me, as you went to some effort to install Docker, and that image is more to show the stack is running. One thing most people have done at one point or another is setup a website. And it is very easy to use Docker to fire up an nginx web-server container. In your terminal run the following command:
docker run -d -p 80:80 --name my-nginx nginx- 'docker run': This is the command that tells Docker to run a container based on an image.
- '-d': This flag stands for "detached mode." It runs the container in the background, allowing you to continue using the terminal while the container is running. (Some containers can be run like command line applications and run once and output a response)
- '-p 80:80': This flag maps the port of the host machine to the port inside the container. In this case, it maps port 80 of the host machine to port 80 of the container. Port 80 is commonly used for HTTP web traffic.
- '--name my-nginx': This flag assigns a name to the container. In this example, the name "my-nginx" is given to the container.
- 'nginx': This is the name of the Docker image to use for creating the container. In this case, it refers to the official Nginx image available on Docker Hub.
If this command runs successfully and everything went okay you should be able to go and see the "Welcome to nginx" splash screen by going to http://localhost:80/ in your browser.
You can stop the nginx container by running the following command in your terminal:
docker stop my-nginxThis is the docker command that will stop a container based on its name.
Docker Desktop nginx example
It is possible to use the Docker Desktop tool to do what we just did too.
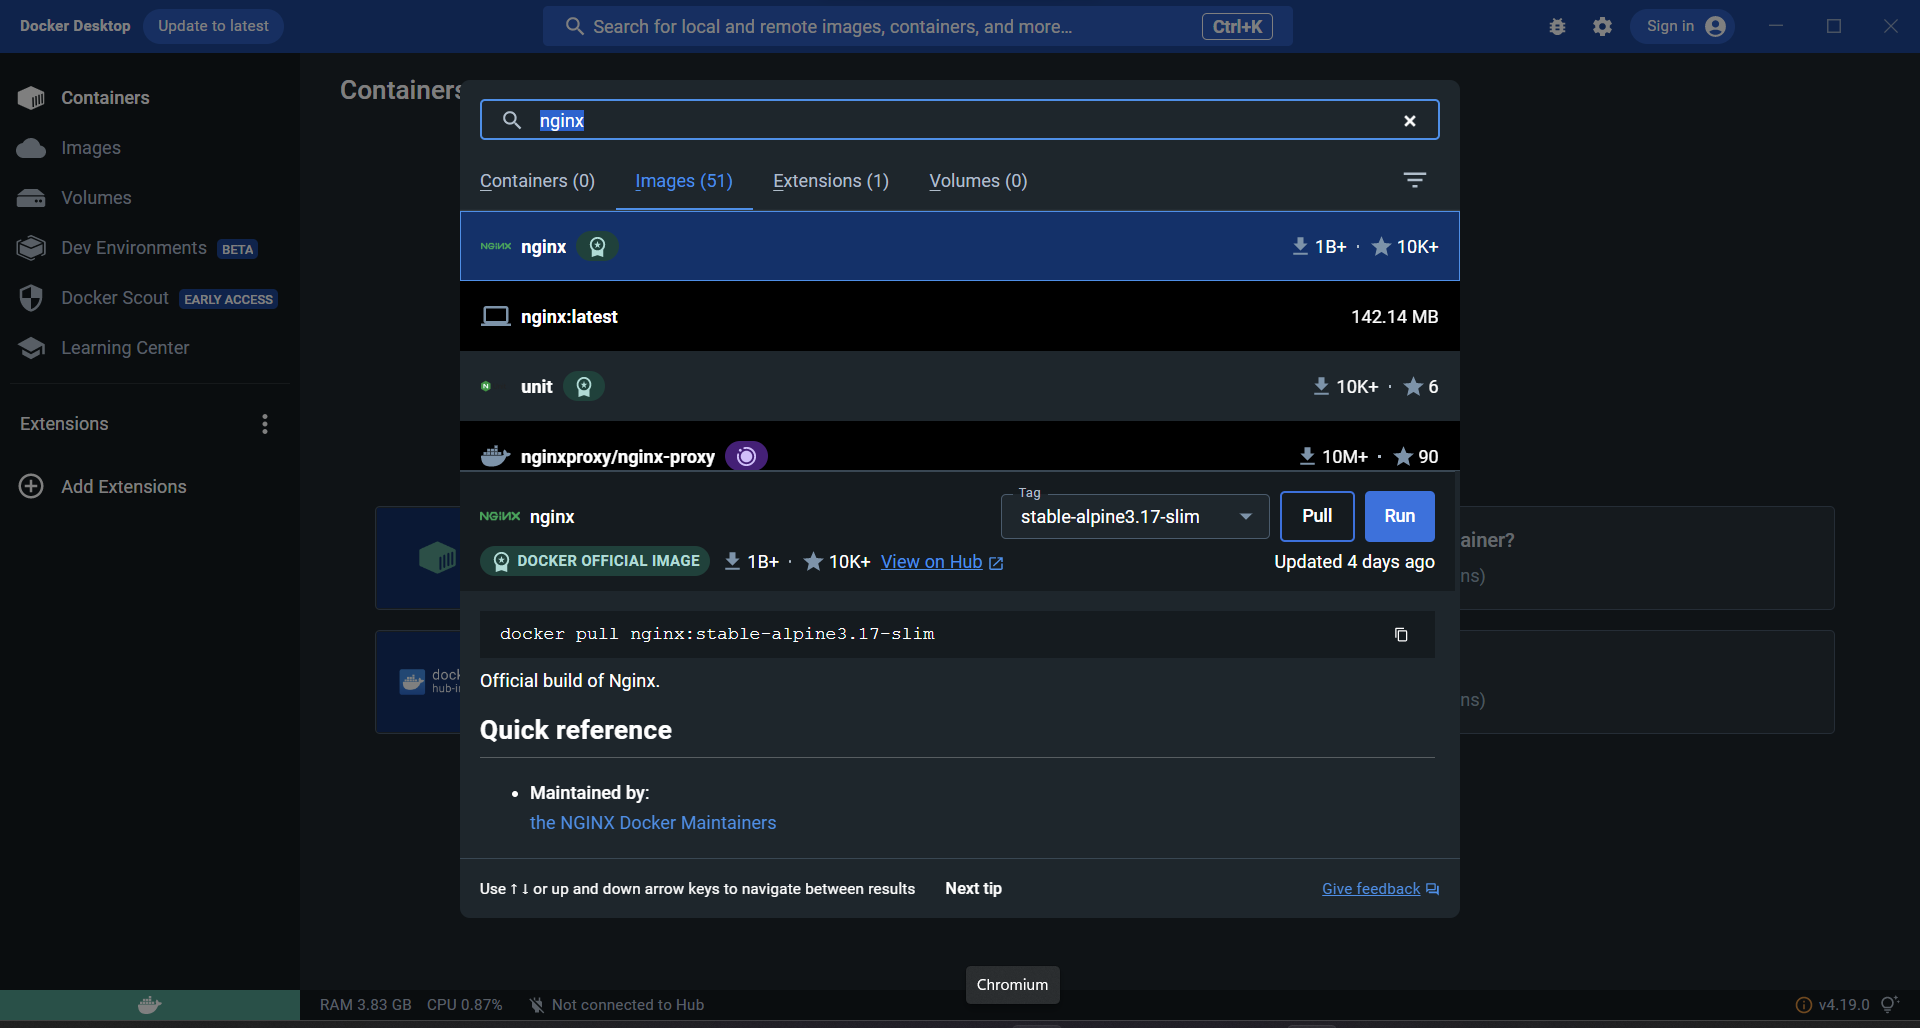
Open the GUI application, and search for the nginx image in the search bar at the top of the window. There are likely to be a lot of results (its very easy to remix and create images as we will learn later). The first result should be the official image created by the nginx team.
When you're ready click 'Run'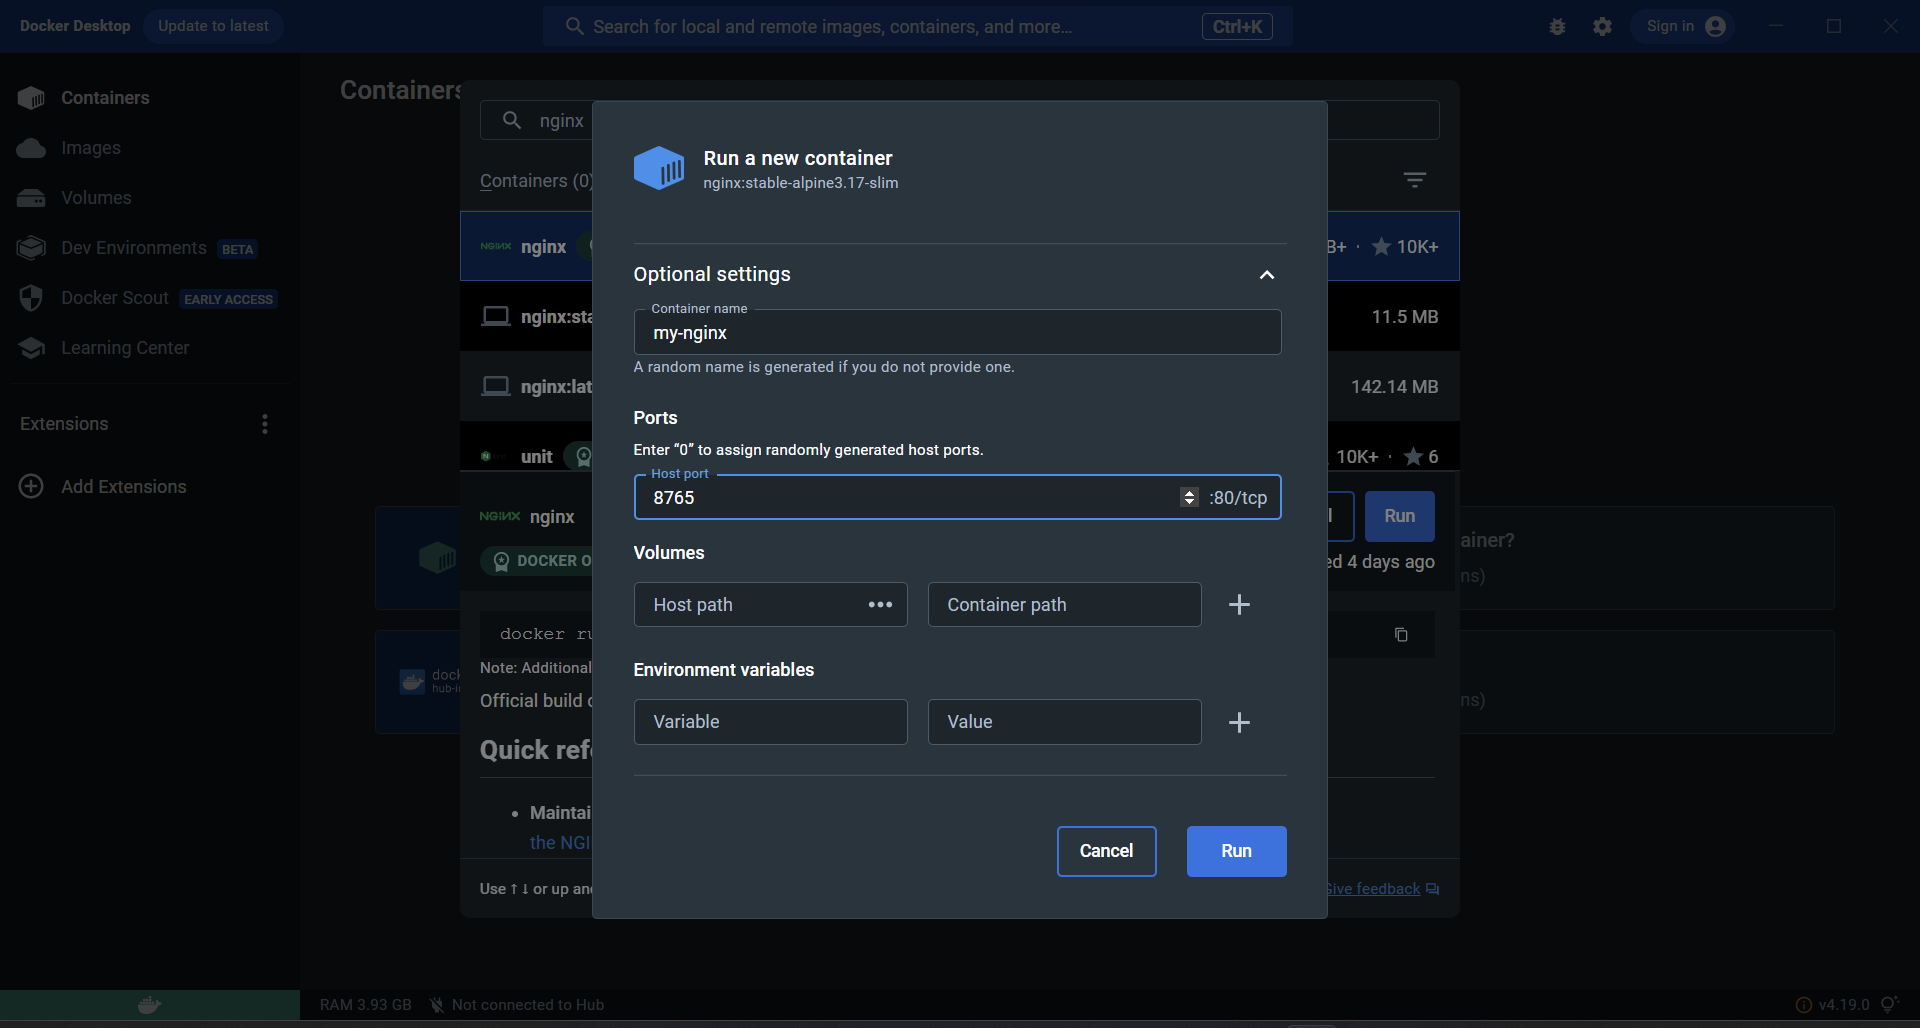
On the next screen you can choose the settings - just like with the parameters we used on the command line. Here I have chosen a different host port. Plus we can see some mention of settings we have not used yet, like Volumes, that we will explore next time.
Give the container a name and click 'Run' again.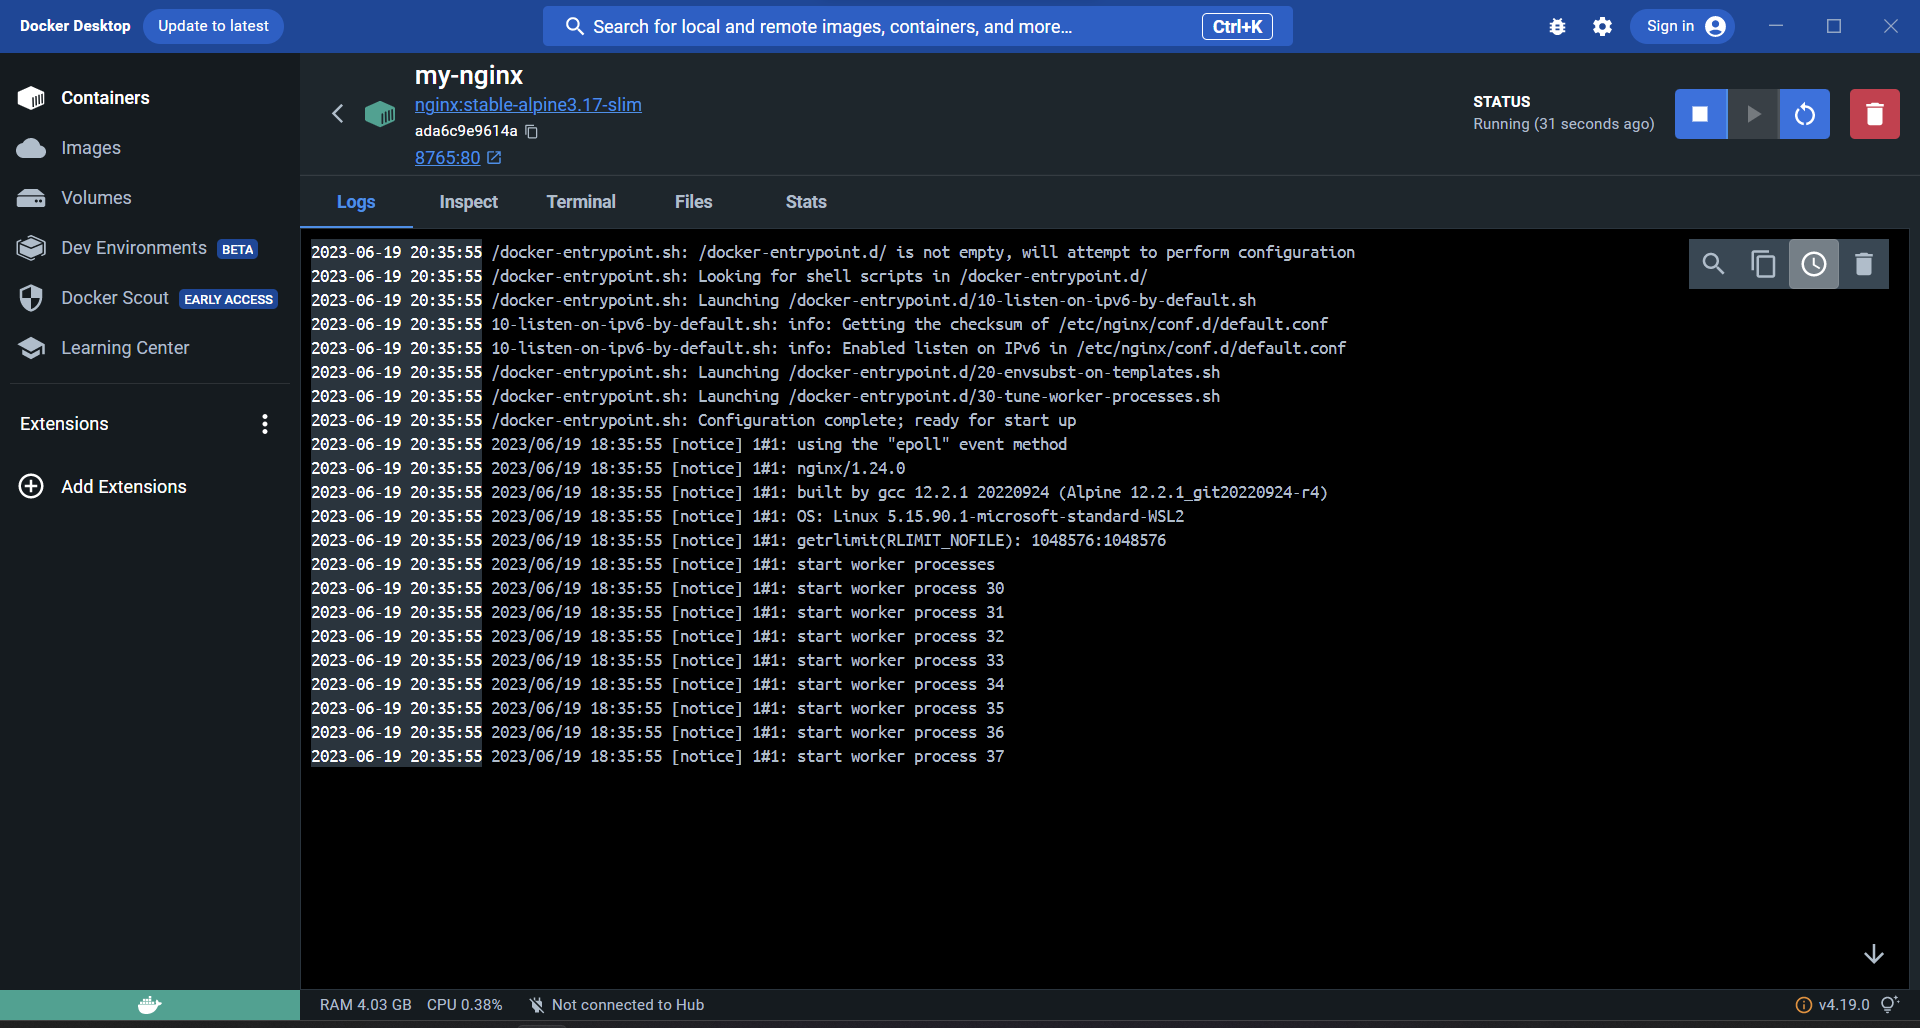
Now the Image will be downloaded, and a Container will spin up, you will be shown the logs of nginx initialising. From this view, you can continue to explore the running container with the tabs. All the information you can find here is also available on the command line. And any containers you generate on the command line can also be investigated here.
The Inspect tab lets you see the container settings. Files lets you look at the filesystem of the container. Terminal lets you get a shell inside the running container.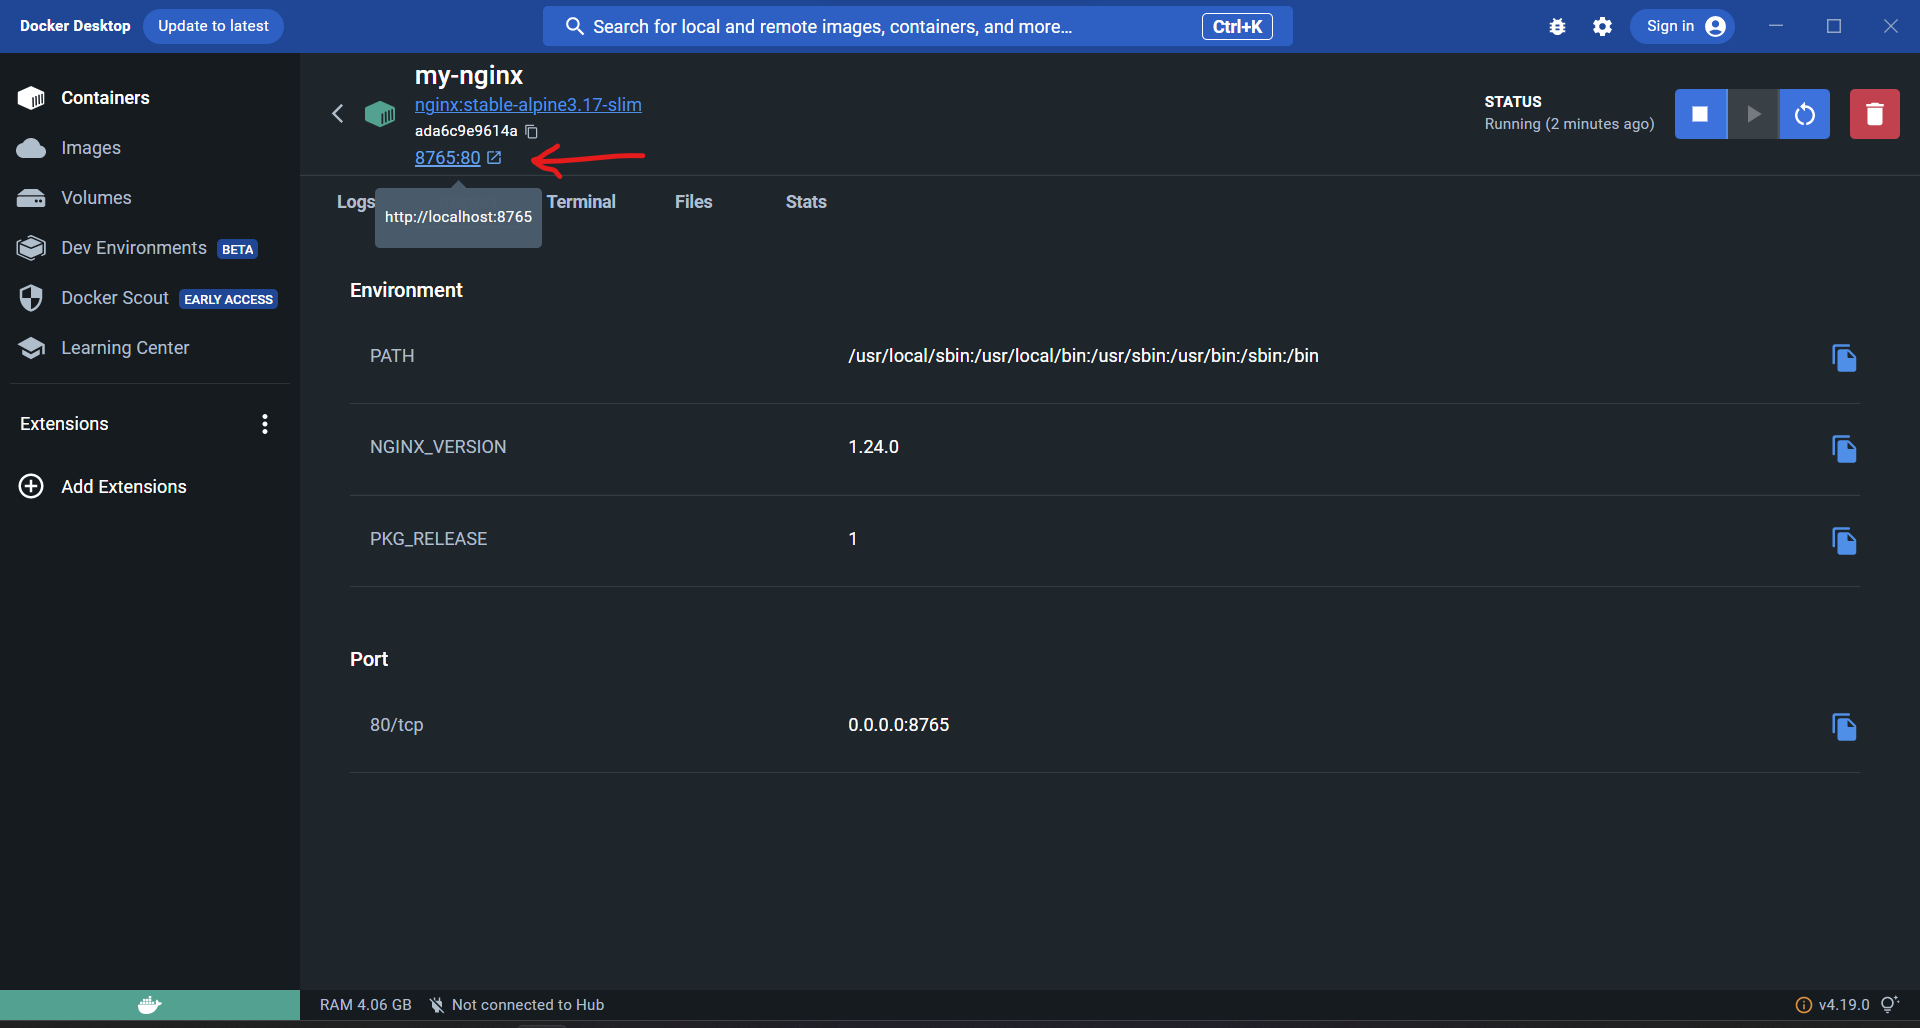
In the top part of the display we can see the externally mapped port to this web application that I choose during the setup. You can click this to quickly jump into the running application! Give it a try.
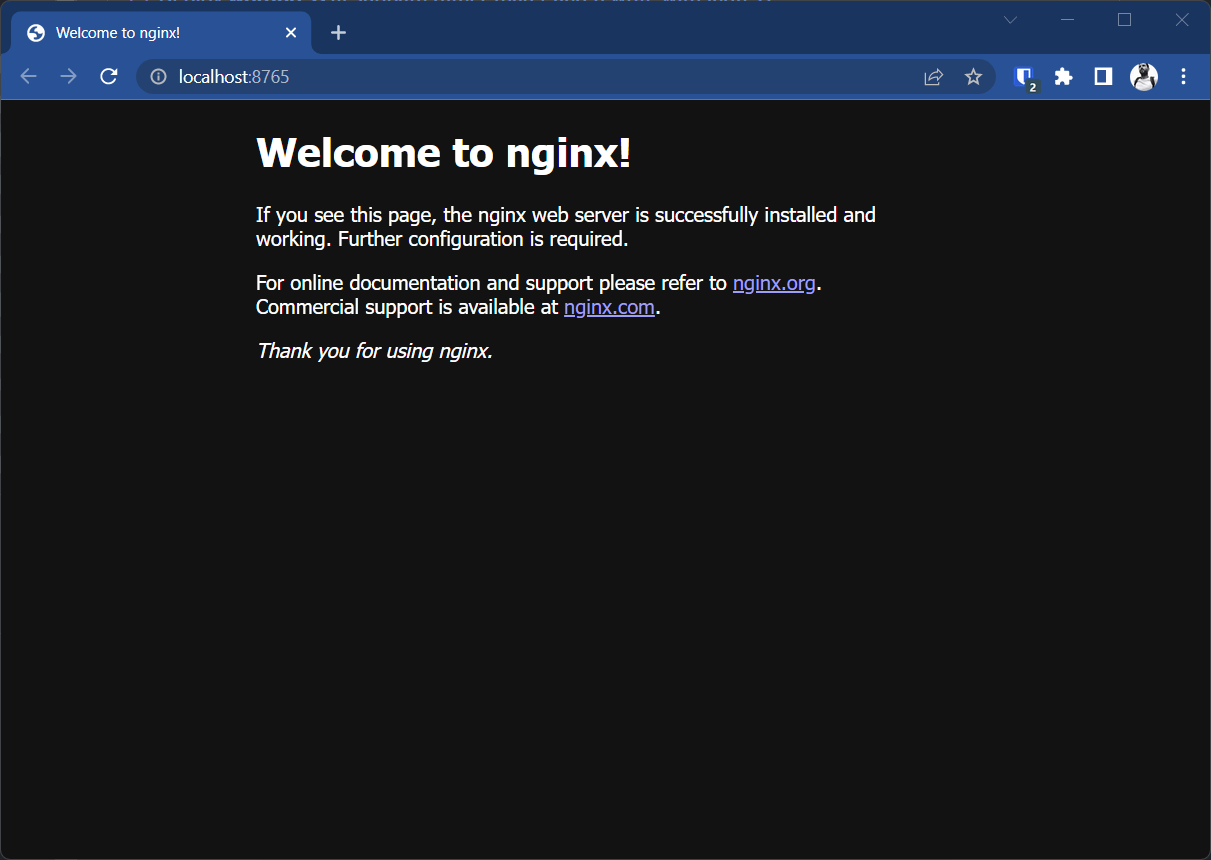
It's not much now, but its a great start to our Docker journey. We have our first web application running in just a few clicks.
Next steps
This was a very brief introduction to Docker to let you dip your toes in and have a splash. Hopefully it showed how easy it is to spin up a container. The next steps from here would be to put your own HTML files into the web application, and then spin up a SQL server for data persistence. And these steps are just as easy as getting nginx running. But I will cover those topics in the next instalment of this series on Docker. I will edit this post with a link to that when I write it.